
Baked Oysters with Lemon Crispy Breadcrumbs: A Simple Elegant Appetizer Recipe
Baked Oysters with Lemon, Parsley, and Crispy Breadcrumbs
Ingredients
Baked oysters are a great way to enjoy these ocean gems without the worry of eating them raw. Broiling them on the half shell creates a golden, bubbly crust while keeping the inside tender.
The mix of lemon, fresh herbs, and crunchy breadcrumbs gives a bright, tasty bite. This combination appeals to seafood lovers and those trying oysters for the first time.
Whether you’re an experienced cook or simply curious, baked oysters make a lovely appetizer that’s easier than you think. Cooking oysters softens their briny taste and allows you to add more flavour with seasonings and toppings.
This dish brings restaurant-quality seafood right to your kitchen. It’s perfect for special occasions or when you want to treat yourself.
What You Need for Baked Oysters
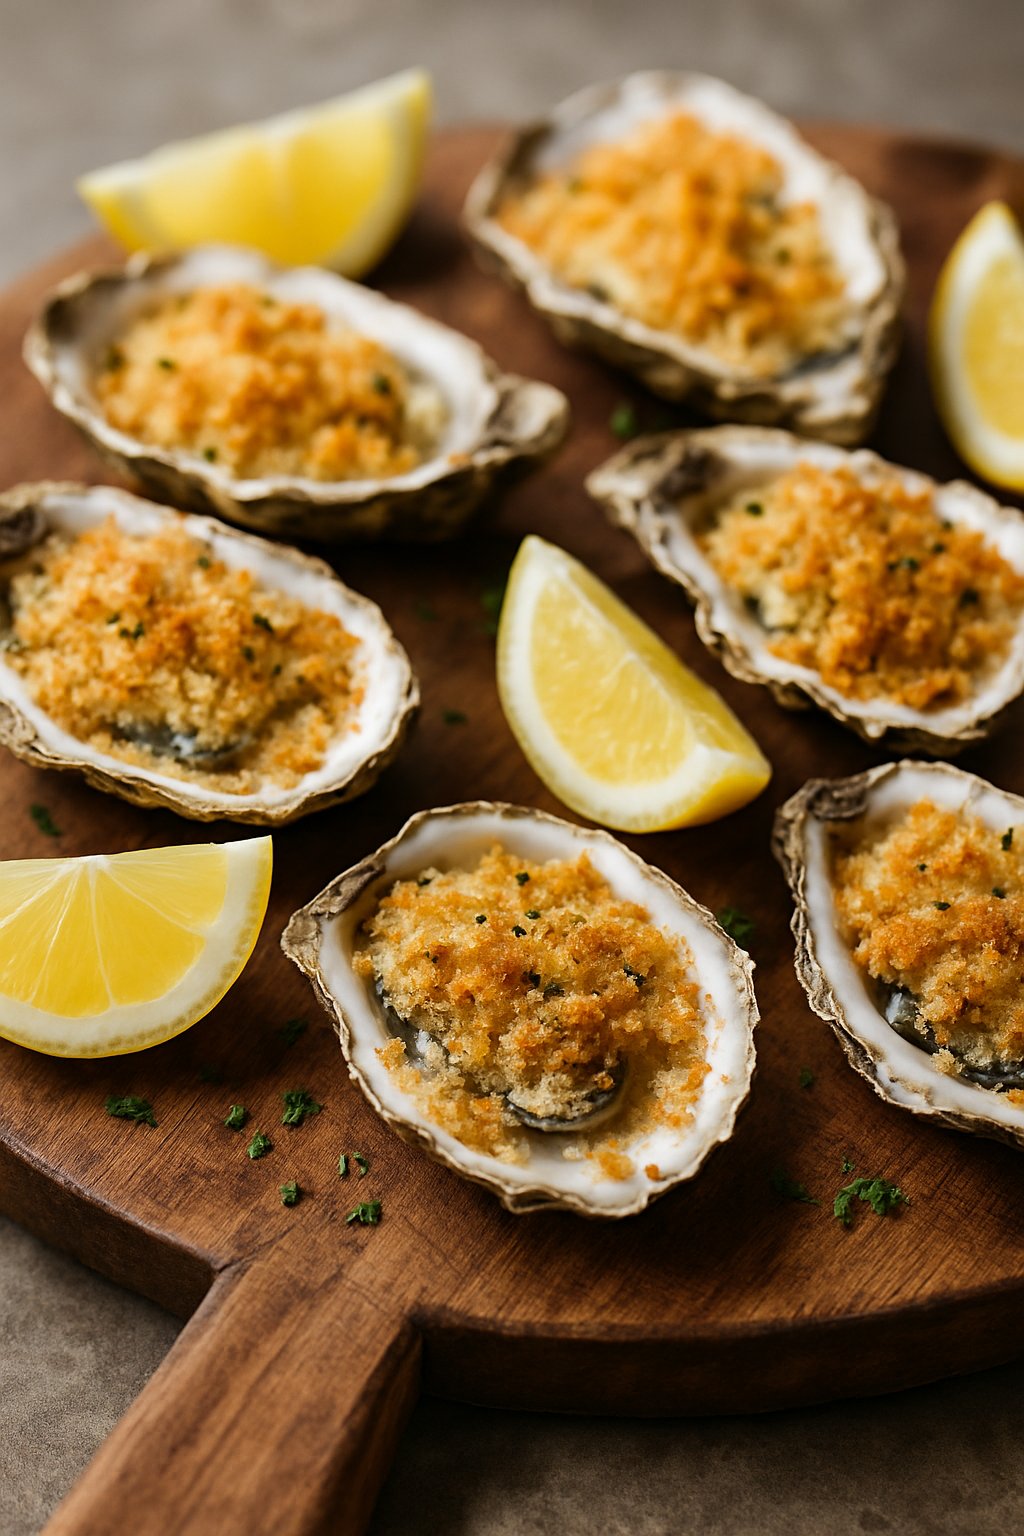
You can grab most of these ingredients at your local grocery store. The oysters are what make this recipe shine.
Fresh oysters are best when they’re plump and meaty. Ask your seafood counter to shuck them for you if you want to skip the work at home.
If you go for pre-shucked oysters, check that they smell fresh and were opened the same day. Extra virgin olive oil brings a rich, peppery flavor that pairs well with seafood.
Pick a smooth olive oil so it doesn’t overpower the oysters. Panko breadcrumbs give you that perfect crispy topping—way crunchier than regular breadcrumbs.
Fresh parsley adds a pop of color and a clean, bright taste. You could swap in fresh mint if you’re feeling adventurous.
Lemon zest brings sharp, citrusy notes. The juice gives a tangy kick that cuts through the buttery oysters.
Red pepper flakes add a gentle heat. Start small and adjust to your taste.
Garlic gives a nice aromatic depth when you mince it fine. Parmesan cheese melts into a golden, savory top when baked with garlic and herbs.
Just a pinch of salt ties all the flavors together in your topping mix.
Finding Fresh Oysters for Your Kitchen
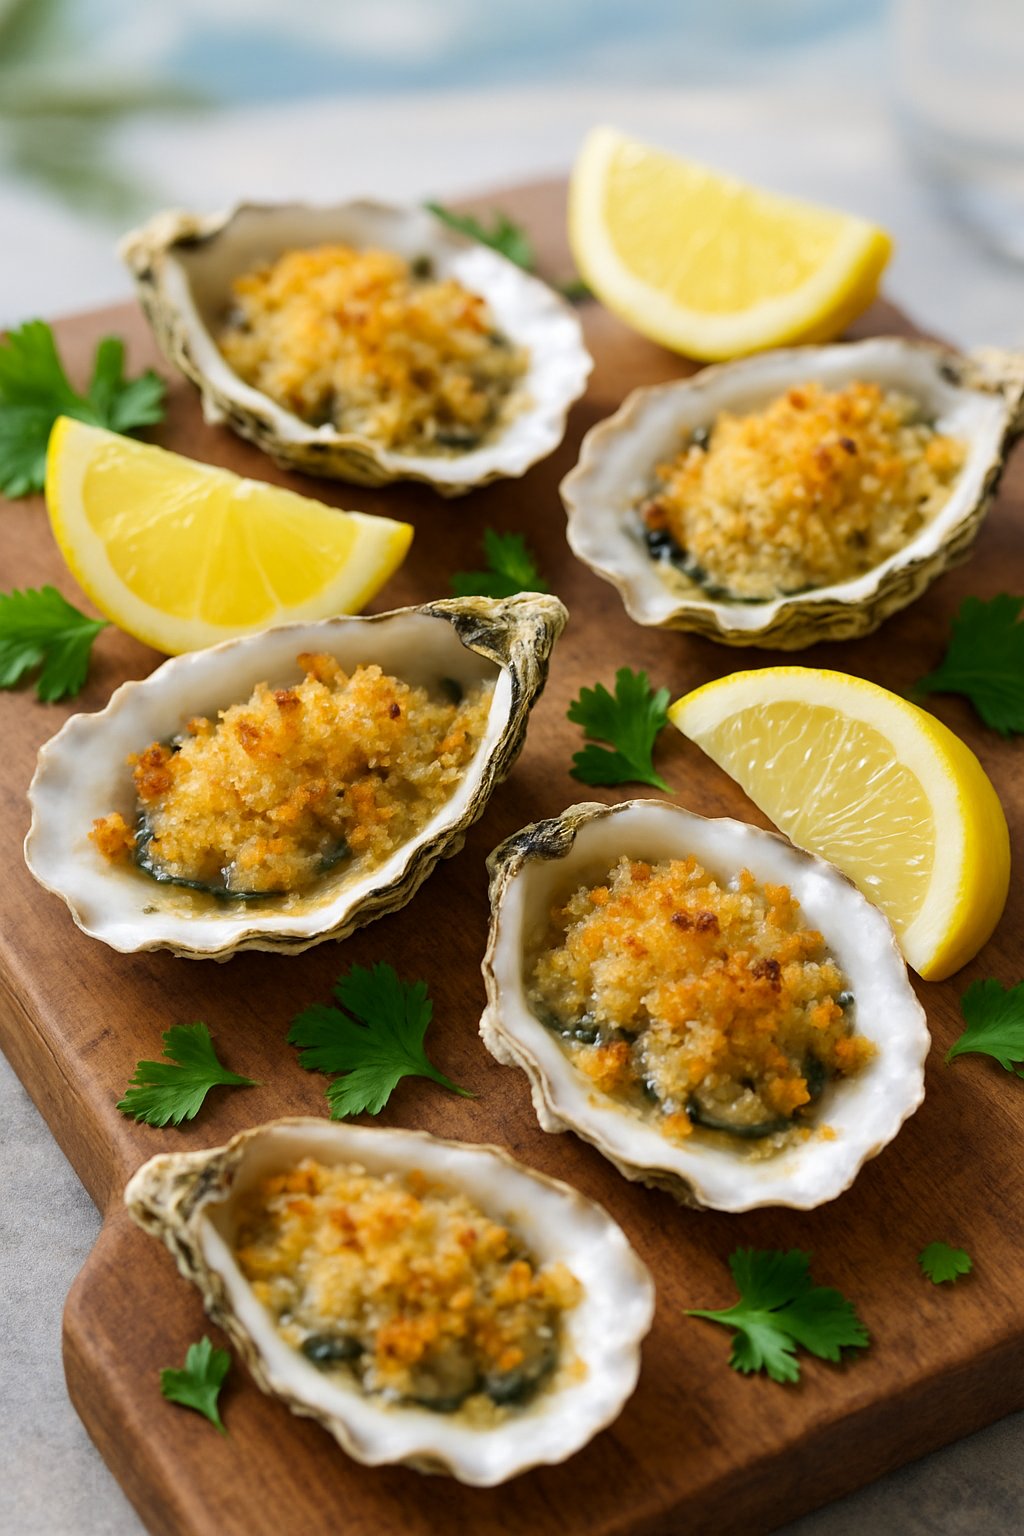
Your oysters will only taste as good as the ones you pick out. Find a trusted seafood market or fishmonger nearby, since these folks know their stuff and can point you to the freshest options.
Seasonal Shopping Tips:
- Wild oysters are best in months with an “R” (September through April).
- Farmed oysters are available year-round and usually taste pretty consistent.
- Ask about the harvest date and where the oysters came from.
What to Look For:
- Shells should be tightly closed or snap shut when tapped.
- They should smell fresh like the ocean, never fishy or sour.
- Heavy oysters usually mean they’re full of liquid and nice and plump.
Lots of grocery stores now carry fresh oysters in the seafood section. If you can’t find fresh, you can try quality frozen breaded oysters—they work well for baked recipes too.
Oyster Varieties You Can Choose
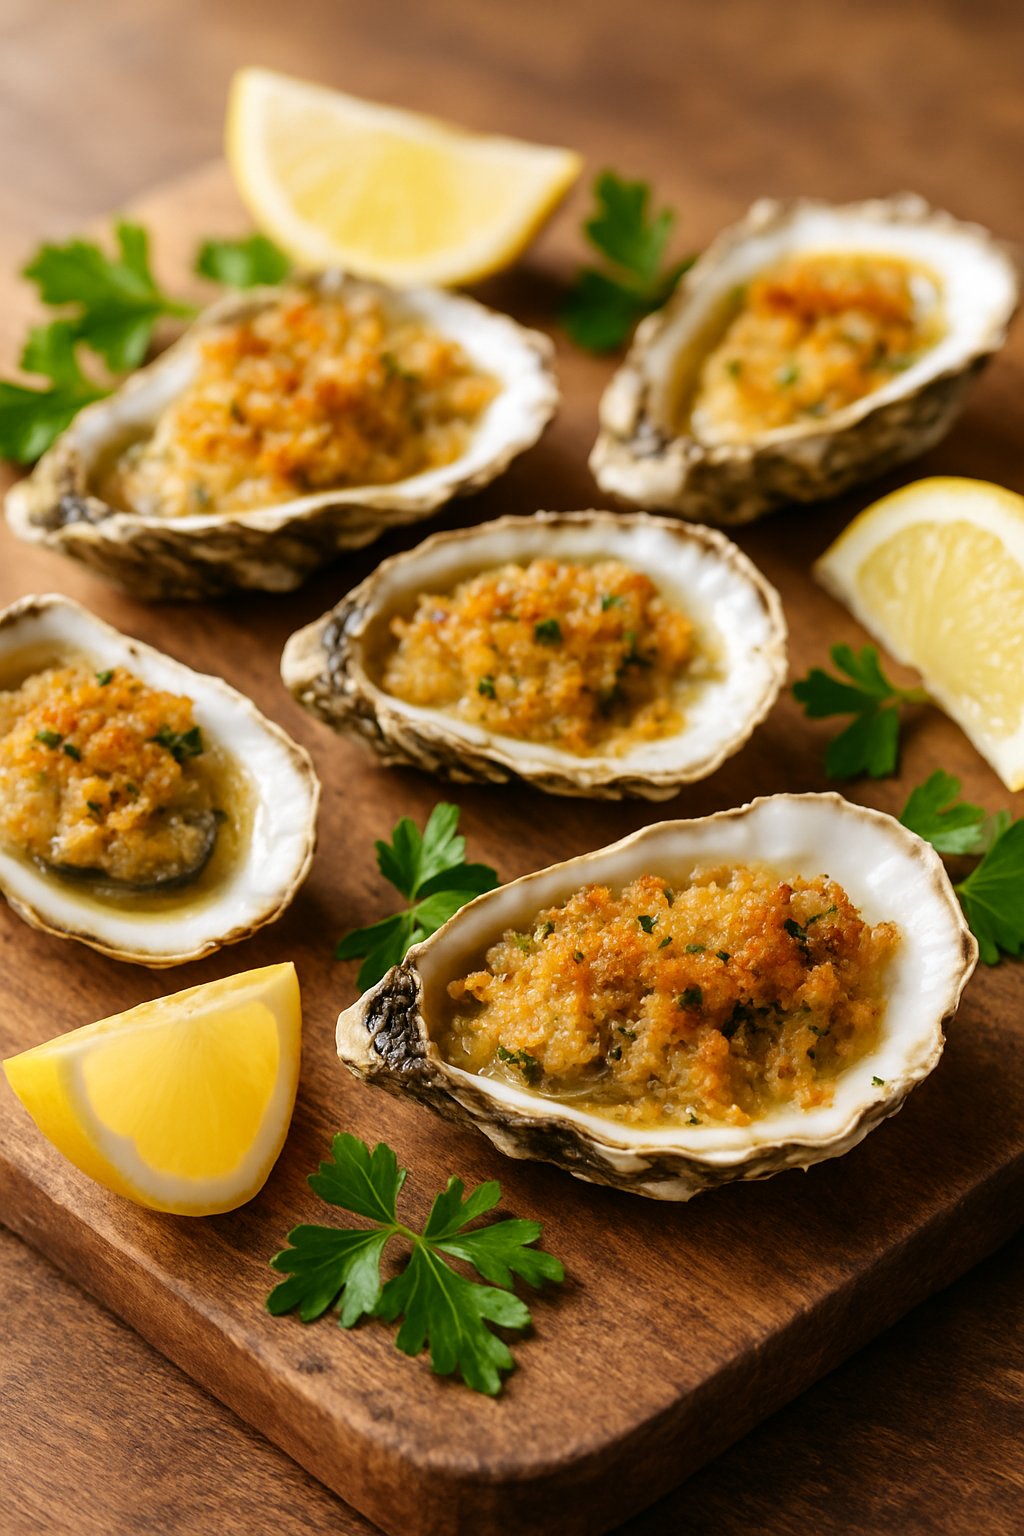
When you’re shopping, you’ll notice a few main kinds of oysters. Each brings its own flavor and texture to the table.
Popular Oyster Species
The three main types you’ll see are:
- Japanese oysters – Large, smooth shells and a clean, slightly sweet flavor.
- Pacific varieties – Salty, bold, and a bit briny; they do well in many waters.
- Atlantic types – Milder and more delicate, with shells that come in all shapes.
| Oyster Type | Shell Features | Flavor Profile |
|---|---|---|
| Japanese | Large, smooth | Clean, slightly sweet |
| Pacific | Variable size | Briny, robust |
| Atlantic | Mixed shapes | Mild, delicate |
How You Can Buy Them
You can buy oysters fresh, canned, or frozen. When you pick up fresh packaged oysters, check for labels that show the type, harvest date, and where they were caught.
Skip any oysters without that info. If you want baked oysters on the half shell, ask if they were shucked that day—fresh-shucked is always better for cooking.
How to Tell if an Oyster is Fresh
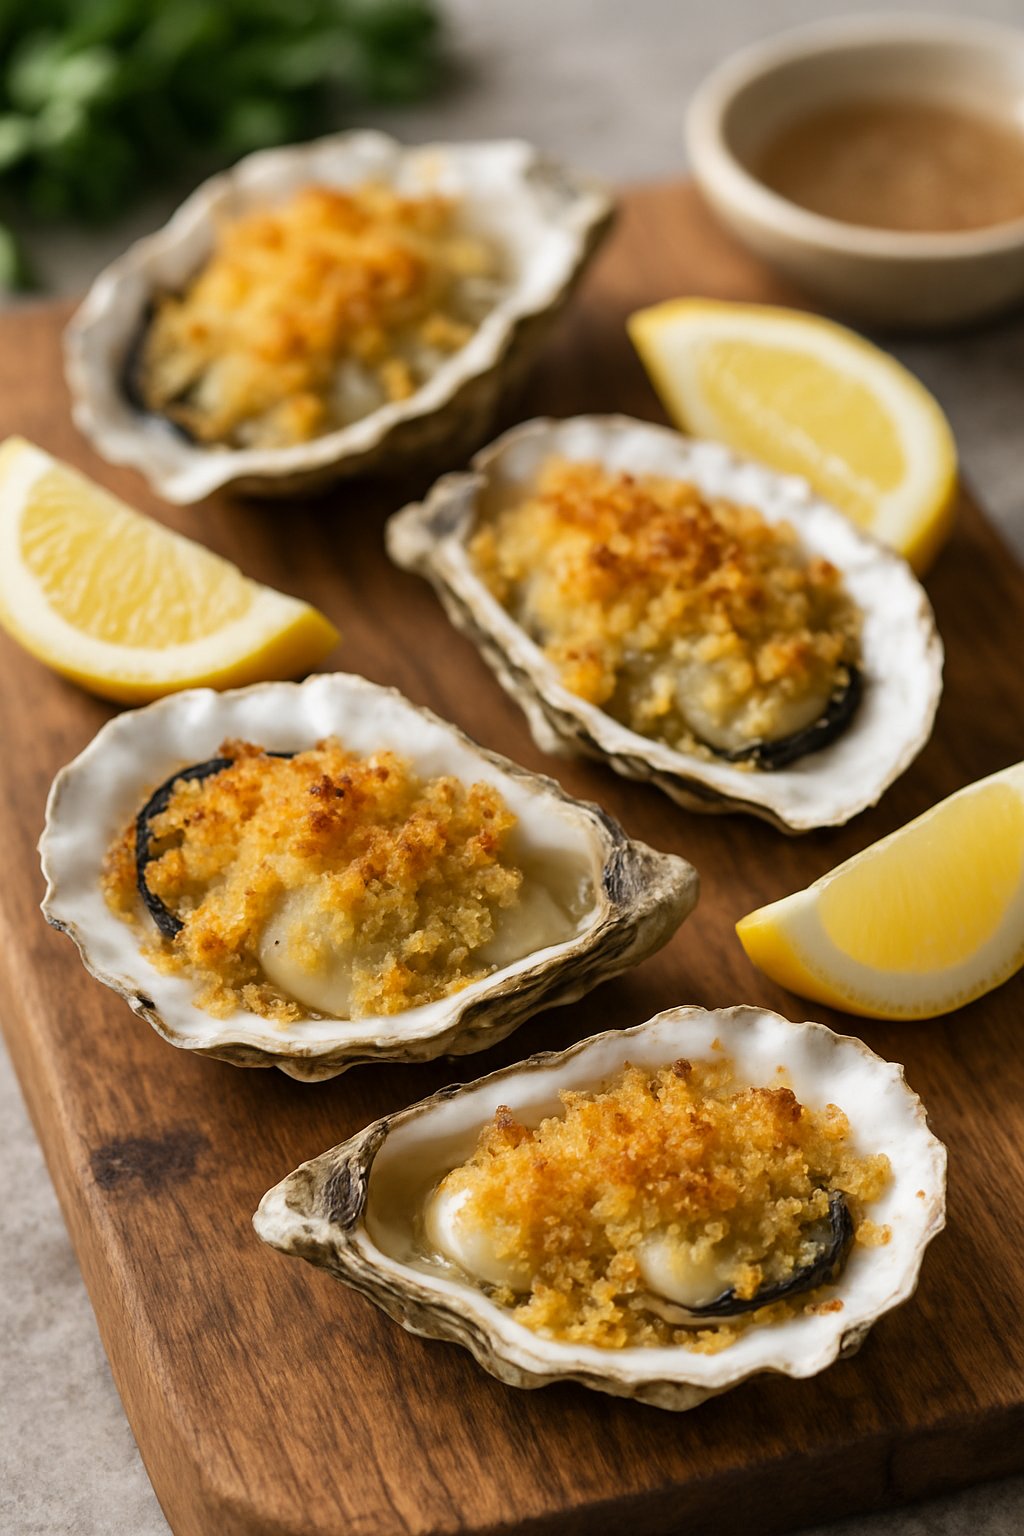
Check the shell first. Look for shells that close tight and have no cracks or holes. If the shell is open, the oyster inside is probably dead.
Use your nose next. Fresh oysters should smell like the ocean, not fishy or like ammonia. If it smells off, just skip it.
Keeping Your Oysters Fresh
You can keep live oysters in your fridge for up to ten days if you store them right. Place them on a plate or tray and cover with a damp towel.
Key Storage Steps:
- Keep the towel damp by checking it often.
- Don’t store oysters in sealed containers.
- They need some air to stay alive.
Proper oyster storage keeps them tasting their best for your next meal.
How to Open Oyster Shells
Start by rinsing your oysters under cold tap water. Use a stiff brush to scrub off any dirt or sand, then pat them dry with a paper towel.
You have two main ways to open oysters. Try both and see what feels better for you.
Method One: Using Oven Heat
Put whole oysters in a hot oven. Preheat your oven to 450°F. Lay the oysters flat side up on a baking sheet and bake for 8-10 minutes. The heat will slightly open the shells.
Take oysters out of the oven. Use tongs to transfer them to a cutting board. Let them cool for a minute, then gently pry open the top shell with a knife or spoon. Be careful not to spill the tasty juices.
Remove the oyster from its shell. Slide a sharp knife along the inside of each shell to cut the muscle. If you want to add toppings, do it now. Then, pop them back in the oven until the liquid bubbles.
Method Two: Opening by Hand
Be safe when opening raw oysters. Shucking can be risky without the right tools. An oyster shucking knife is best. Regular knives can slip and cut you.
Get ready to shuck. Wrap the round end of the oyster in a kitchen towel for protection. Set the deeper shell side down with the pointed end facing your stronger hand.
Find the hinge. Hold the oyster steady and slip the tip of your shucking knife into the hinge where the shells meet. Twist the knife to pop the shell open. It may take some effort, but you’ll get the hang of it. Always point the knife away from your hand—no one wants an oyster-related injury.
Cut the muscle. Run the knife along the top shell to slice through the muscle. Lift off the top shell and toss it. Try to keep as much salty liquid inside; it adds great flavour when you bake the oysters.
How to Bake Oysters
Making this baked oyster recipe is simple. You’ll create a fancy-looking appetizer that’s easy to make.
Creating Your Topping Mixture
Grab a bowl and mix together your breadcrumbs, fresh parsley, and a pinch of red pepper flakes. Add olive oil, then grate in some lemon zest and squeeze in the juice.
Sprinkle in salt and combine everything. You want the mixture evenly coated but not soggy.
| Ingredient | Amount |
|---|---|
| Breadcrumbs | 1/2 cup |
| Fresh parsley | 1/4 cup chopped |
| Chili flakes | 1/2 teaspoon |
| Olive oil | 5 tablespoons |
| Lemon | 1 whole (zest and juice) |
Setting Up Your Oysters
Cover a baking sheet with foil and crumple it into little nests. This keeps your oyster shells steady and upright.
Place each oyster shell in its foil nest so you don’t lose any of the oyster liquor.
Adding the Toppings
Spoon about a teaspoon of breadcrumb mixture onto each oyster. Then drizzle a bit of olive oil on top—about half a teaspoon.
Cooking Your Oysters
Move your oven rack about 15 cm below the broiler. Turn on the broiler and leave the oven door slightly ajar.
Broil your oysters for 6-8 minutes, watching closely until they’re golden and bubbling.
When they’re ready, use tongs to transfer the hot oysters to a serving plate. Serve right away with lemon wedges on the side.
Your Guide to Perfect Oven-Baked Oysters
Baking oysters is easy. Start by setting your oven to broil—it’s the quickest method.
Essential Baking Guidelines:
Crack the oven door slightly—about 2.5 to 5 cm is enough. This prevents smoke and excess heat.
Watch them closely—Keep oysters about 15 cm from the broiler. They cook fast and can burn or burst if you get distracted.
Adjust heat if needed—If they brown too quickly, lower the temperature a bit.
Your baked oysters will be ready in 5 to 7 minutes when the tops are golden brown. Check on them every couple of minutes to avoid overcooking.
Ways to Mix it Up: How to Grill Oysters
You can grill oysters right on the grates—no special tools needed. Just make sure they sit level so they don’t tip.
Two Main Methods:
• Covered cooking: Place oysters away from direct flames and close the grill lid. This turns your grill into an oven for gentler cooking.
• Open flame style: Leave the lid open for a smokier taste. If you hear popping or see cracks, the heat may be too high—move them to a cooler spot right away.
Safety tips: Always use tongs or heavy gloves for hot oysters. They hold heat longer than you might think.
Try grilled oysters with garlic butter and herbs or experiment with flavours you like. The key is finding the right heat level.
Perfect Pairings for Your Baked Oysters
When planning a menu around baked oysters, choose drinks and snacks that complement their rich flavours. Champagne or a crisp sparkling white wine works well.
For extra appetizers, consider these easy options:
Buttered radishes with sea salt—light and fresh
Spanish-style tomato bread—adds a bit of Mediterranean flair
These appetizer combos create a fancy spread without overshadowing your oysters.
What You’ll Need
You only need a few basic kitchen items for baked oysters. The ingredients work together beautifully.
Fresh Oysters
12 fresh oysters on the half shell
Look for oysters that smell like the ocean—not fishy or off
For the Topping
1 cup panko breadcrumbs
3 tablespoons melted butter
2 cloves minced garlic
2 tablespoons chopped fresh parsley
1 lemon, juiced and zested
Seasoning
Salt to taste
Black pepper to taste
Red pepper flakes (optional)
The crispy breadcrumb topping gives these oysters their crunch. Regular breadcrumbs work too, but panko makes them even crispier.
Shopping Tips
Buy oysters on the same day you plan to cook
Ask the fish counter to shuck them for you—it saves time
Keep oysters on ice until you’re ready
Some folks like to add Parmesan cheese or herbs for extra flavour. Once you master the basic recipe, feel free to experiment.
The butter and garlic melt into the breadcrumbs, making them golden. Fresh lemon juice brightens everything and pairs perfectly with the salty oysters.
Instructions
Preheat your oven to 230°C. You want it hot for that crispy topping. Prepare your baking dish by lining it with coarse salt or crumpled foil. This stops the shells from sliding.
Getting the Oysters Ready
Shuck the oysters carefully, keeping them in the deeper shell halves. Discard the tops—you won’t need them. Check each oyster for broken shell bits. If you see any, pick them out with a spoon or knife tip. Pat the oysters dry with paper towels. This helps the topping stick better and keeps breadcrumbs from getting soggy.
Making the Breadcrumb Mixture
Combine these ingredients in a bowl:
1 cup panko breadcrumbs
3 tablespoons melted butter
2 cloves minced garlic
2 tablespoons chopped fresh parsley
Zest from 1 lemon
Salt and black pepper to taste
Mix everything until the breadcrumbs look evenly coated—damp but not wet.
Taste and add more lemon zest or seasoning if you want an extra kick.
Assembling and Baking
Arrange the oysters on your baking dish so they’re level. You don’t want them tipping over.
Top each oyster with about a tablespoon of the breadcrumb mix. Press it down gently so it stays put.
Bake for 8 to 12 minutes until the breadcrumbs are golden and the oyster edges start to curl.
Keep an eye on them in the last few minutes—breadcrumbs can burn fast at this temp.
Remove from oven when the topping is crisp and the oysters look plump and cooked through.
Serving Tips
Serve right away while everything’s hot and crispy. Nobody wants soggy breadcrumbs.
Offer lemon wedges on the side for anyone who wants a little extra citrus.
Use small spoons or oyster forks to make eating them a breeze.
Notes
This dish works for all sorts of occasions and tastes. Baked oysters come together in less than 15 minutes, so they’re awesome for quick entertaining.
Breadcrumb Options:
- Panko breadcrumbs—super crispy
- Regular breadcrumbs—totally fine if that’s what you have
- Whole wheat breadcrumbs—add a bit more flavor and nutrition
You can buy oysters already shucked or on the half shell. If you get the half shell kind, you’ll save yourself some prep.
Always check that your oysters smell fresh—like the sea, not fishy.
Flavor Additions:
- Add garlic for more savory taste
- Mix in butter for richness
- Try herbs like parsley or thyme
- Use lemon zest and juice for a bigger citrus kick
Spicy butter and herb versions are great if you like a little heat. Add hot sauce or red pepper flakes to the mix and see what you think.
Oven temp really matters for crispy tops. Somewhere between 450°F and 475°F does the trick—hot enough to crisp the breadcrumbs without making the oysters rubbery.
Serving Tips:
- Serve them right away, piping hot
- Have lemon wedges ready
- Put oysters on a platter lined with rock salt so they don’t slide around
- Give everyone a little spoon for easy eating
Adding spinach or other greens under the breadcrumbs makes them heartier. Diced tomatoes or shallots add a nice flavor twist too.
The main thing? Don’t overbake them. Oysters cook fast—if you leave them in too long, they’ll get tough. Watch for golden breadcrumbs and pull them out right away.
Nutrition
Baked oysters with lemon and crispy breadcrumbs bring you a nutrient-dense seafood option. These shellfish pack important vitamins and minerals into a really tasty dish.
Key Nutrients Per Serving
Oysters give you a lot of zinc, which helps your immune system stay strong. You also get plenty of vitamin B12, which keeps your nerves and blood cells healthy.
The protein in oysters is pretty solid. A serving gives your body complete proteins it needs.
You’ll find iron in oysters, which helps carry oxygen in your blood. That’s a nice bonus, honestly.
Calorie Content
Baked oysters contain moderate calories when you add breadcrumbs and cheese. The exact number really depends on how much butter and breadcrumbs you toss in.
Fresh oysters on their own are actually low in calories. That’s good news if you’re keeping an eye on that sort of thing.
Added Ingredients Impact
The breadcrumb topping adds some carbs to your plate. Parmesan cheese brings extra protein and a bit more calcium.
Lemon juice gives you vitamin C without adding many calories. It just brightens up the flavor, too.
Butter in the recipe bumps up the fat content. The dish ends up richer, but also higher in calories.
You can always use less butter if you want to keep things lighter. It’s really up to you and your taste.
Health Benefits You Get
Oysters deliver omega-3 fatty acids, which are good for your heart. The zinc supports wound healing and your sense of taste.
Selenium in oysters acts as an antioxidant. That’s something most people could use more of, right?
The garlic often found in these recipes might help your heart health. Parsley adds a little vitamin A and K to your meal.
Dietary Considerations
This dish fits pretty well with a low-carb eating plan. The protein keeps you full without a carb overload.
If you’ve got a shellfish allergy, you’ll need to skip this one. No way around that, unfortunately.
The sodium can get high depending on how much salt and cheese you use. You might want to watch your portions if you’re cutting back on sodium.